DIY Toddler Mouse House
I’d love to connect with you on Instagram, where I share home, health and lifestyle tips!

Cohen loves playing rough with his Mouse House and other little visitors are always drawn straight to it!
If you have a little one (regardless of gender), I have found that they love to play with furniture and mouse homes! It is important to pick pieces that are pretty indestructible for their mouse house though, as you want them to be able to actually play with it and enjoy your efforts. If you have an older child (or, like me, want to make your fantasy mouse house and then keep it stored until your child is older and won’t destroy it…), check out my other Mouse Homes here and here.
My favorite part about Mouse Homes in general is that they encourage imaginative play and they are a “buildable,” meaning other friends and relatives can go in on the gift with you. You can ask grandparents or aunts/uncles to purchase the mice or furniture sets.
I highly recommend starting with the Ikea Flisat Dollhouse. You can use on a table or attach to the wall.
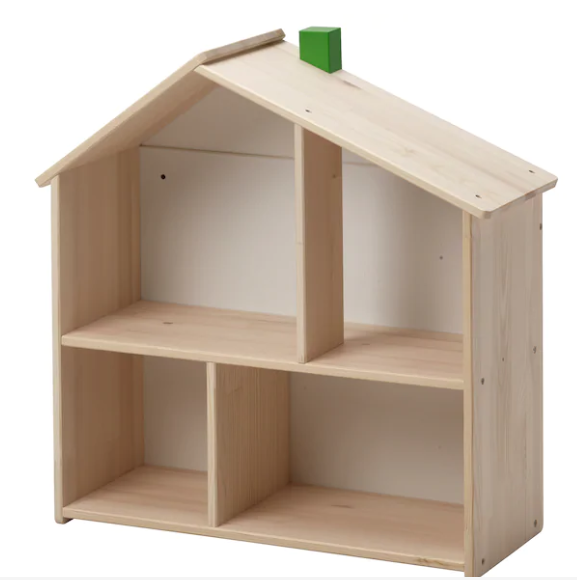
I found some pretty paper from the Papersource and used Spray Adhesive to attach it to the back walls. I repainted the chimney to a more muted pink. All of the furniture is PlanToys from Amazon. I purchased the Bathroom set, Parents Room set, and Living Room set.

Here are the deets for toddler mouse house:
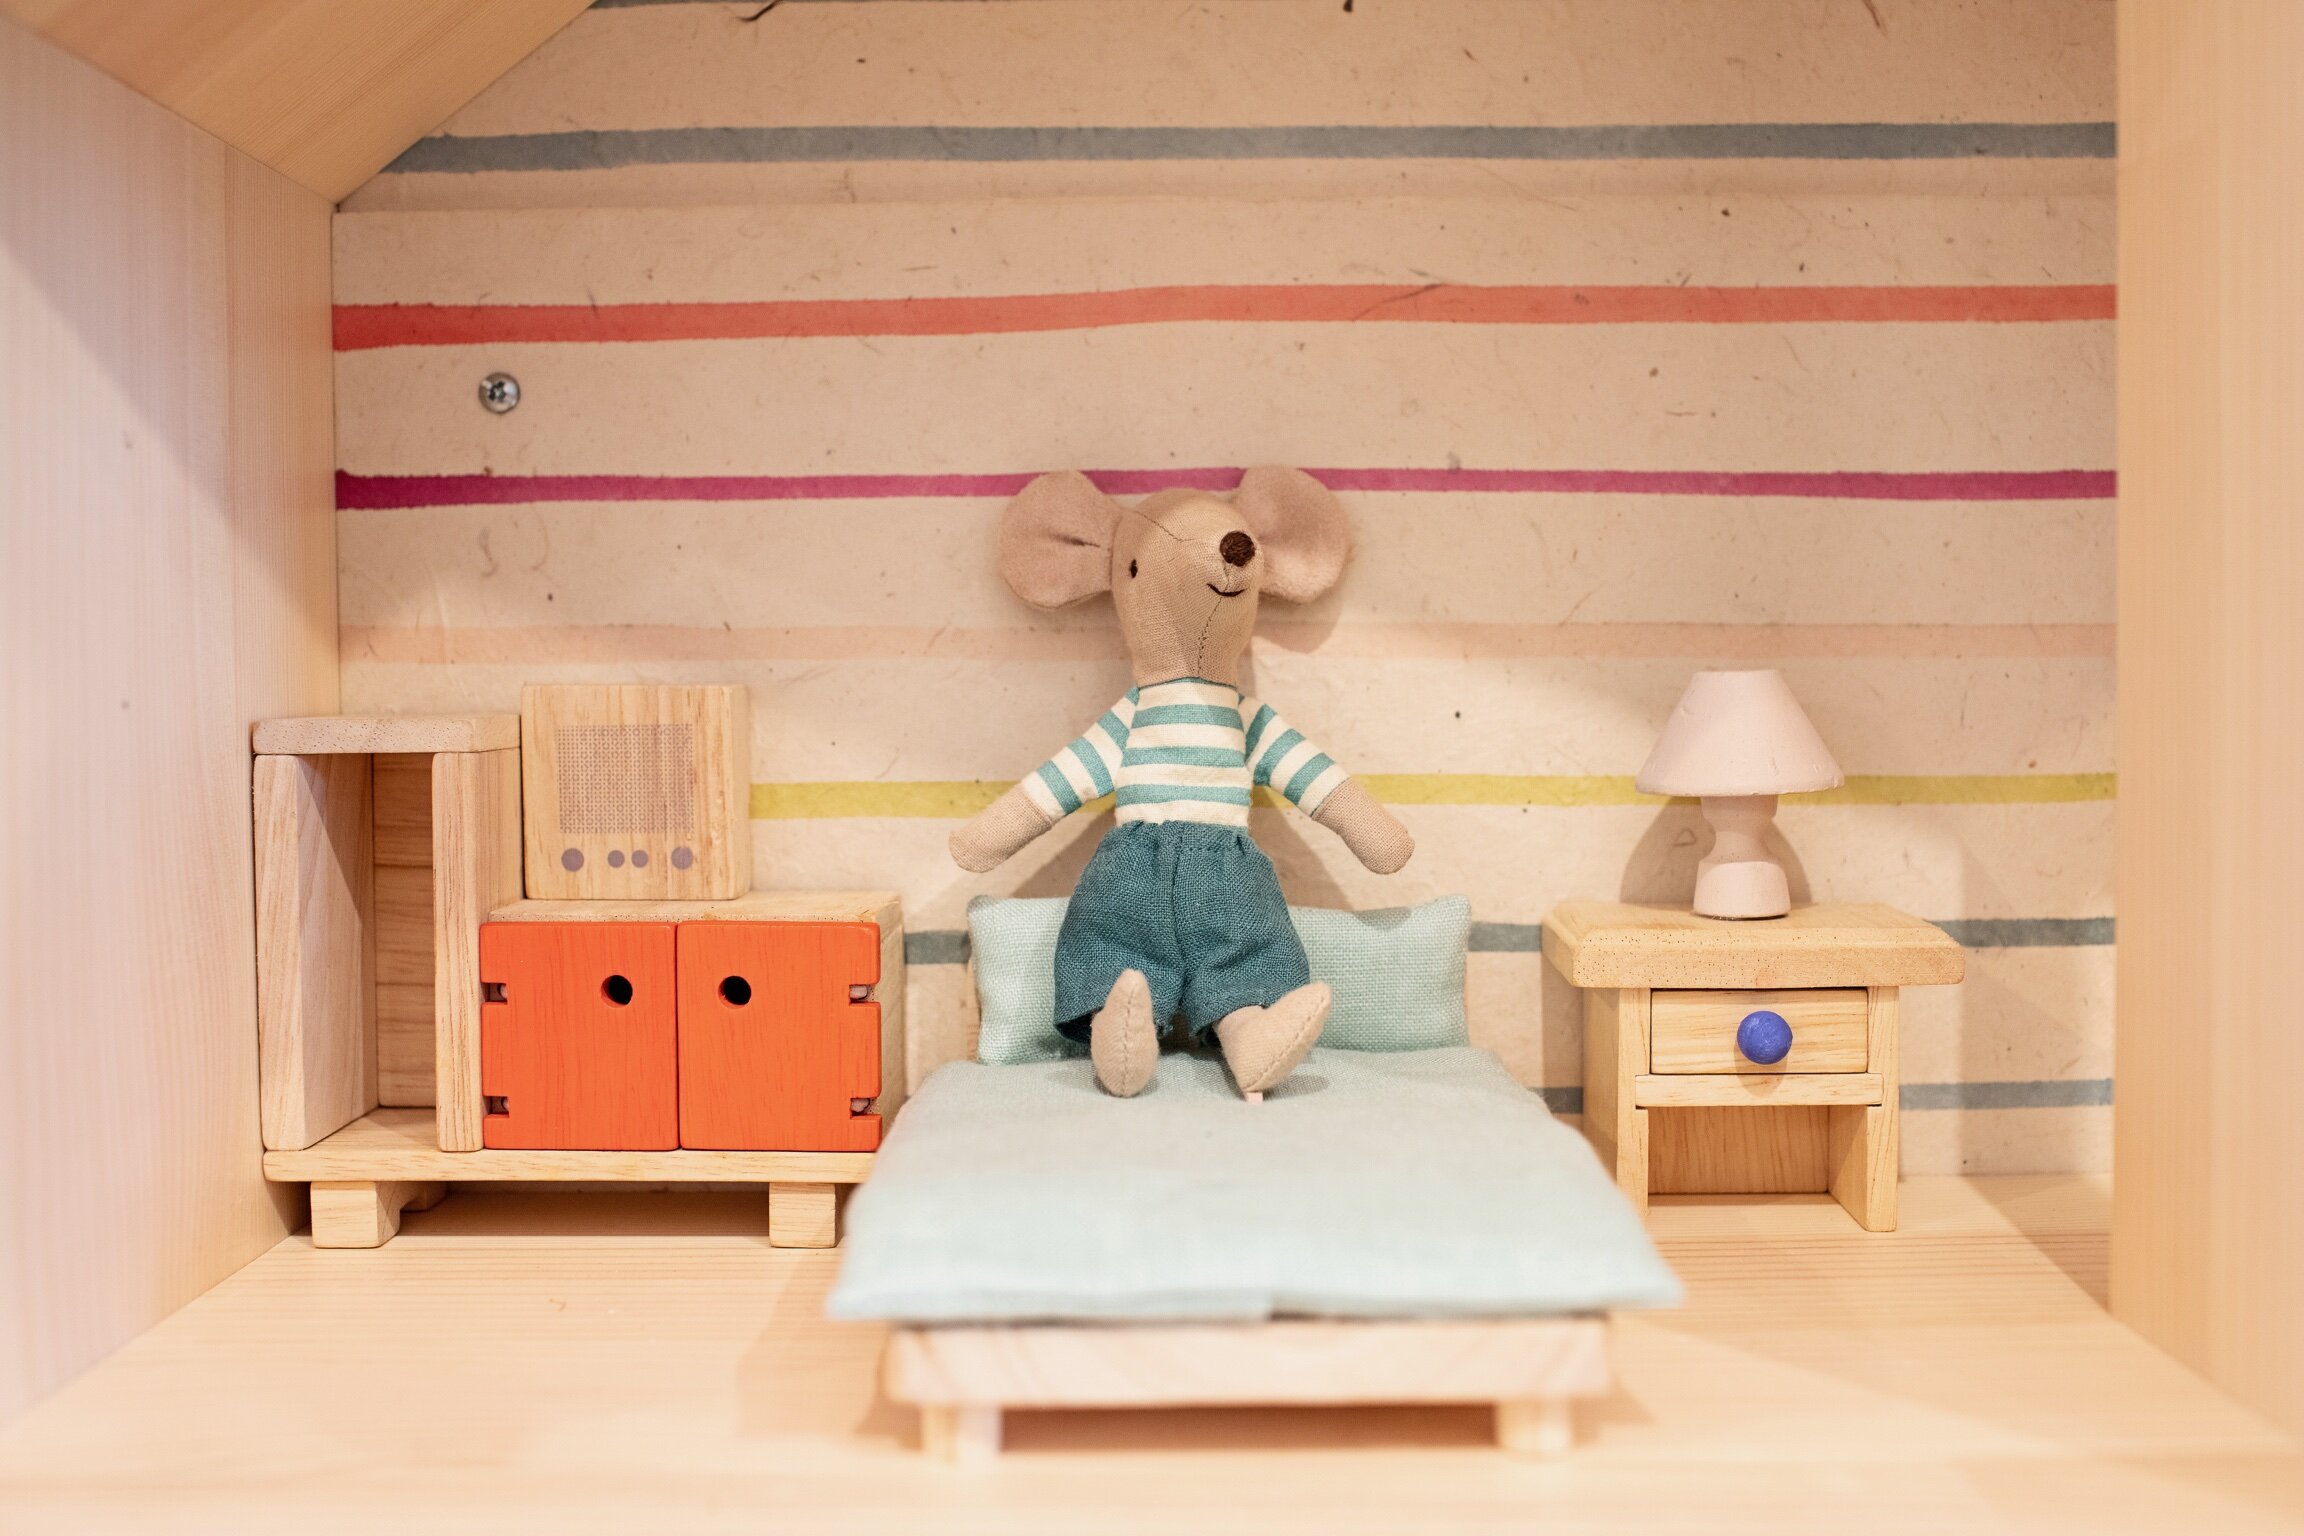
BEDROOM:
I used the PlanToys Bedroom set and re-covered the bedspread and pillows. You can use the original pieces as patterns, then re-use the foam from inside for the new set. I hot-glued the pieces down, as they frequently get thrown. I moved the radio from the living room set to the bedroom.
BATHROOM:
For the bathroom I painted the tub and toilet from the PlanToys Bathroom set. I made the little rug with pom poms and linen. The Ostrich is a piece I love from Copper Corners Art I painted and re-used stir-sticks from Starbucks for the frame.

OFFICE:
For the office I re-painted the desk and chair from the Dollar Store! The art is from Rylee and Cru and the frame is from Hobby Lobby.

LIVING ROOM:
I used the Living Room set from PlanToys for the Living room. I used the original cushions as patterns to re-cover the chairs/sofa and re-used the original foam (you have to use a seam-ripper to get it out). I hot-glued the cushions down so that I wouldn’t constantly be putting them back on. The pillows are scraps of fabric with cotton balls inside. The art is by Britt Bass Turner with a frame from Hobby Lobby. The Christmas Tree is from the dollar section at Target.

Be sure to shoot the artist a quick DM or e-mail to ask permission to print their art in miniature. The only artist who came back and said “no” was Rifle Paper Co. For all artists that said “yes,” I used screenshots from their websites, then brought into Microsoft Word. I had to print each one a few different times to get the right size and printed on cardstock. The frames are made of coffee stir-sticks from Starbucks and a frame I got from Hobby Lobby (much easier!).
MICE:
Be sure to purchase mice that are 6” and smaller for the homes.
The mice who inhabit this home (and all my other Mouse Homes) are from Maileg. Be sure to pay attention to the sizes of the animals as you order (for example, their bunnies and rat are way too large). You don’t want larger than 6” for the adults and smaller for kids.

I love having the Mouse House out and don’t fret if little ones are getting aggressive with it, because it’s pretty indestructible. It is awesome to have a toy out in our living room that isn’t obnoxious looking and kids of all ages can play with it.
If you build your own, please be sure to tag me on Instagram so I can see your lovely little homes!!
-Traci