DIY Budget Bathroom Renovation Tips
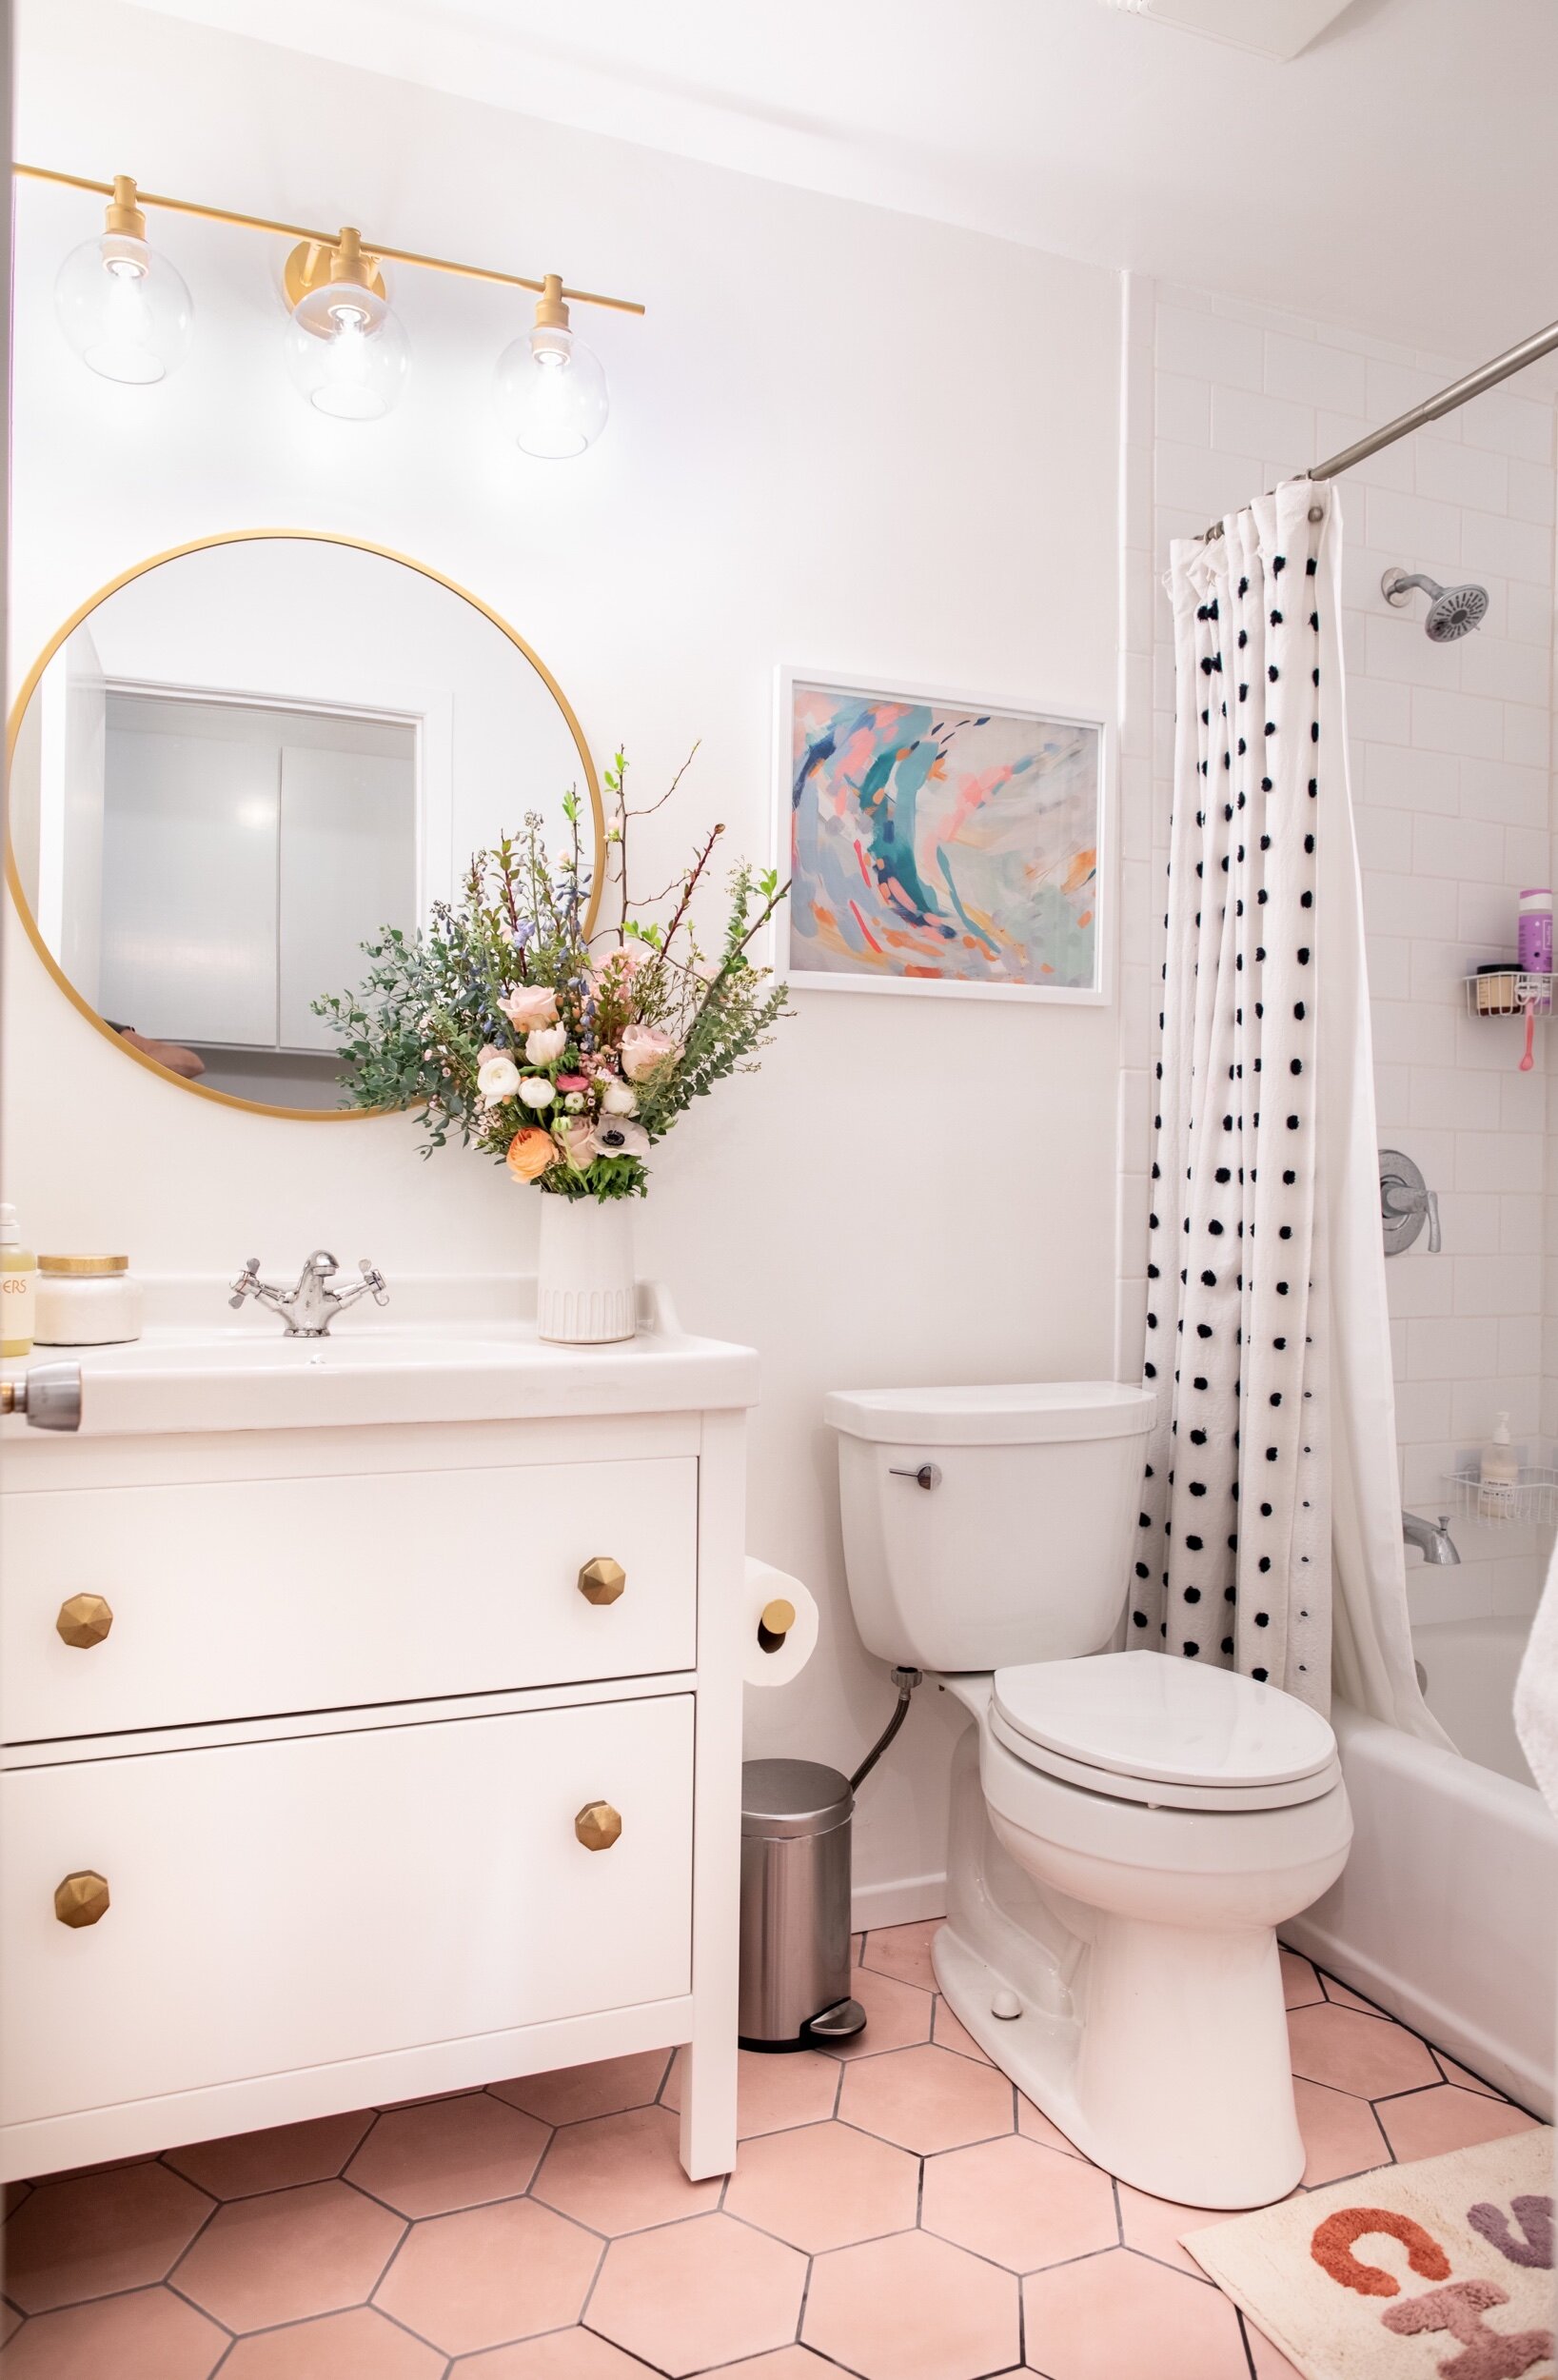
Pink Budget Bathroom Renovation: pink hexagon tile with dark grey grout. Guest Bathroom sources: Anthropologie, Target, Urban Outfitters, Wayfair, IKEA, Tilebar, Home Depot, Lowe’s.
For more of the bathroom progress photos and videos, you can check out my highlight on Instagram on @PoppieLady
A few days before we moved into our “flipped” house, I was lamenting to my mom that the bathroom hadn’t been touched and I was really concerned we would never have the funds to fix it up after we moved in. Well… I was mostly correct. Two and a half years later, the bathroom hadn’t been touched. I felt so hopeless and was also REALLY hesitant to start, not knowing a reasonable budget to DIY and figuring we would run out of money and then have a bathroom out of commission with two little ones for a long time. We ended up with a little extra wiggle room in our budget due to refinancing our home for a lower interest rate and so we decided to push ahead with the renovation and “pay as we go” over a few pay periods (Dave Ramsey would have been pretty irritated).

Dolly Parton adds a splash of color to our pink guest bathroom! Hooks are from Etsy: HomeLuxeCo.
I was calling the project “Champagne Taste on a Beer Budget,” or #BeerBudgetBathroom
We had the help of my dad and his friend, who helped us with many of the projects including replacing the drywall after ripping out the shower surround, teaching us to skim coat, and cutting and placing the tile on the shower and floors. If possible, I definitely recommend having someone help get you started if you haven’t done a job before. Youtube is super helpful, too!
The total time on project was 8 weeks, working at least 4 hours each weekend day and a few days during Christmas break for 5+ hours.
Complete cost breakdown at the end.

How we all feel now that our DIY budget bathroom renovation is finished! Sadie is celebrating on our pink hexagon with grey grout.
***Supplies, Materials, and Budget are Listed at the End***
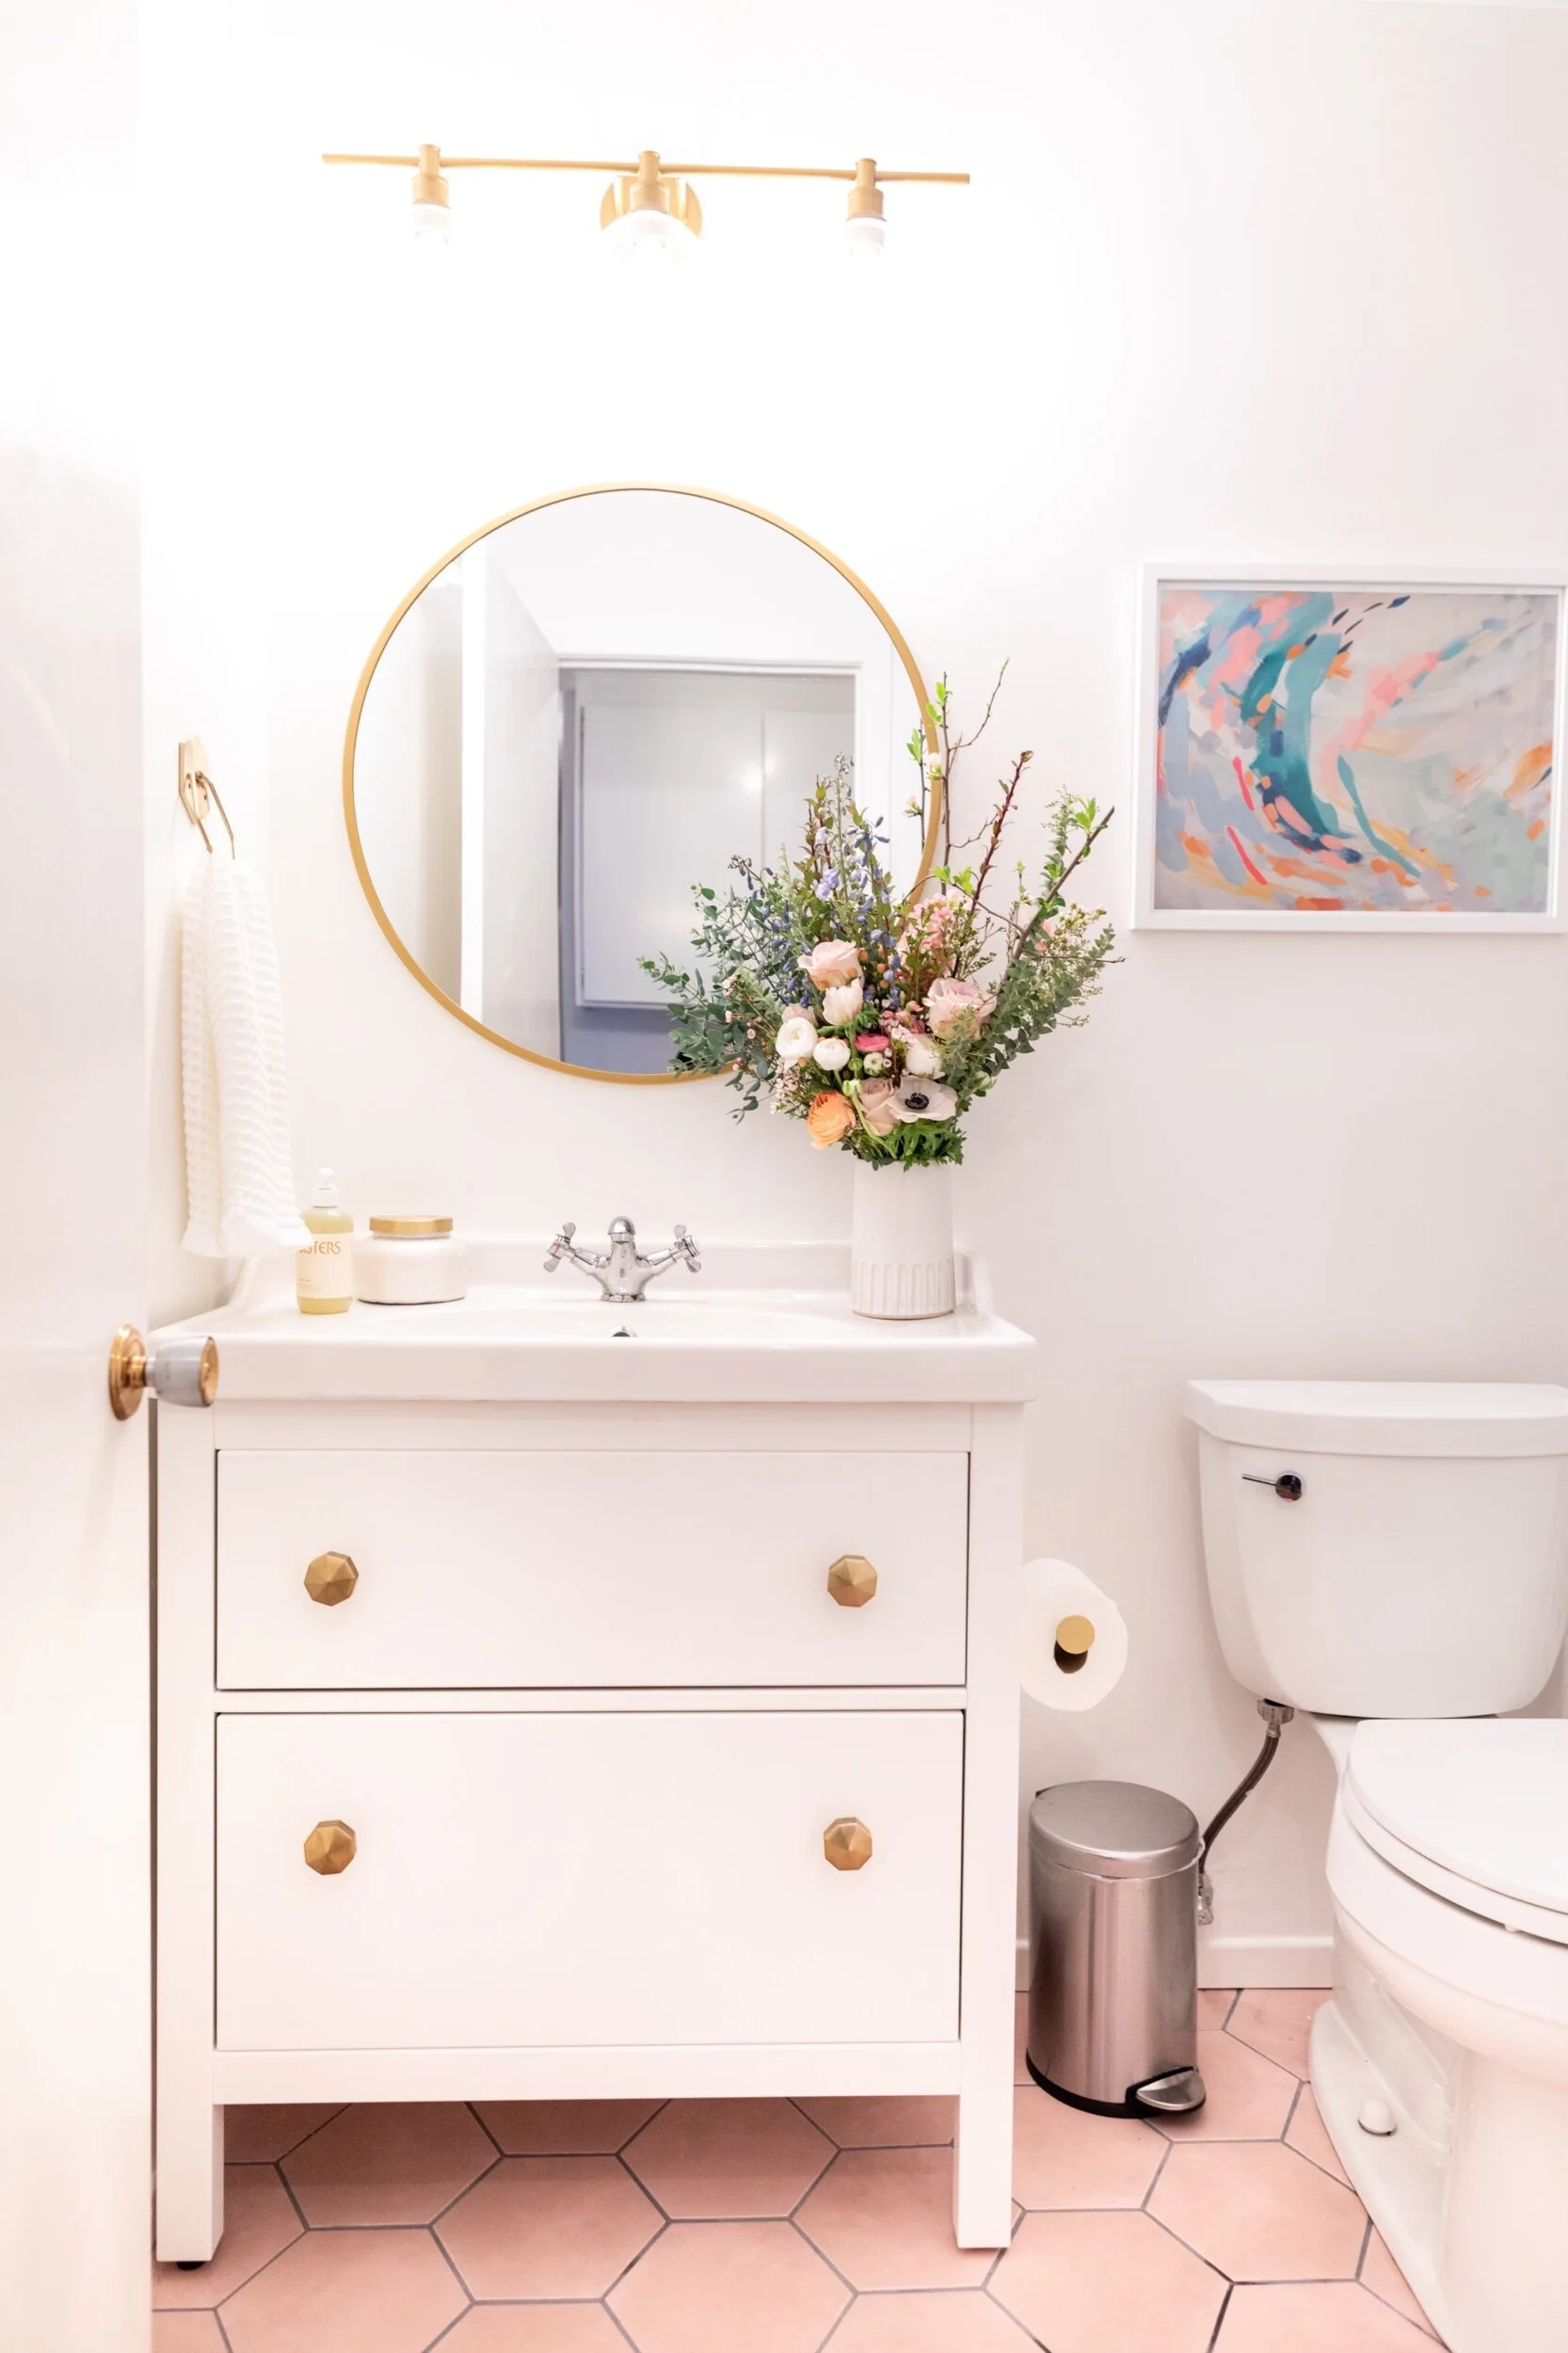
Our Pink Hexagon Tile with Grey Grout was a fun alternative way to add color to a small bathroom. The sink and lighting fixture are not in line, so a circular mirror helps to disguise the error.

The bathroom BEFORE our DIY renovation: faux marble floors and a column sink that left no room for storage.

Floor to ceiling subway tile now surrounds the bathtub and shower and it feels SO MUCH cleaner and is a definite upgrade! We did not install a niche for products, but went with (an awesome) removable wire corner shelf for ease and our skill level.

The bathroom BEFORE our DIY renovation: our shower surround had permanent yellow/funk around the perimeter and was falling apart.
A few tips we picked up along the way:
Look at inspiration photos BEFORE you can afford the project. It will be really helpful to find trends in what you are liking and ideas. It can also motivate you to save!
ORDER SAMPLES. I cannot stress this enough. I was 100% confident in a terrazzo tile, then once the sample came, it was almost an illustrated terrazzo and I am SO GLAD we had ordered a sample. I ended up deciding on a tile I would never have chosen online alone. TileBar.com had 5 samples for $5. Takes a little more time, but so worth it.
Plan-out sizes and placement with blue tape (for example, the vanity on the floor or mirrors on the wall for perspective).
GO SLOW TO GO FAST: If you are not sure between colors of grout, paint, etc. and can, get multiple colors to sample. We chose a very different grout color after mixing, applying to tile samples and waiting for it to dry. We were able to return the opened bag to Lowes. Also, I went to the store to buy “white semi gloss paint.” I took the brochure home to look at all of the different options under the bathroom lighting and settled on “coconut grove.” It’s better to go through a little extra hassle instead of huskily picking one and then not being happy with how it turned out and having to re-do the whole thing.


Because the lighting in your space can change the look of white paint dramatically, be sure to bring a sample home to see how it looks at different times of the day (or I just brought this paper home to look in the bathroom).
I used Instagram stories to map out the pictures and textiles I was buying to make sure they all “went” together. Take a screenshot of the item and crop it down. Then apply the item over a photo of the bathroom. You can also make collages of your items.

Keep receipts in a central location. We didn’t do this and returns were a P in the B (Pain in the Butt;)
Outsource anything complex that’s over your skill level if possible. We hired a plumber to come get everything set up before we demo’ed and reconnect everything after we finished. He updated piping to copper, moved the shower head up, and a few other items to set up everything for $975 total. I also had help from my interior designer-friend Merissa of Studio M. Haas, especially when I felt paralyzed by so many decisions.

Skim Coating was a freaking nightmare and I wish we got an estimate! Also, very important to cover the tile and your bathtub!
It never hurts to get an estimate! We skim-coated (changed the wall texture from bumpy to smooth) the walls and it took DAYS AND DAYS. I really wished we got a quote and if it was reasonable, it would have saved us a LOT of time. I did get a quote to install the medicine cabinet into the load bearing wall and the estimate was $1,500-$2,500 ballpark, so I returned the medicine cabinet and bought a flat mirror. The sink and lighting fixture were off, so it worked to get a round mirror to cover the goof.

I used Glad Press’N Seal to protect our new bathtub. It did leave a residue where I sat down that came off very easily with Goo Gone. It’s important to cover the bathroom and hallway floors as well to PYO (Protect Your Investment).

For more of the progress photos, you can check out my highlight on Instagram on @PoppieLady

Choosing the same size baseboards and doorway trim streamlined and modernized the bathroom. We chose 2.25”.
BUDGET BREAKDOWN:
FIXTURES AND DECOR:
Mirror: 28” Round Decorative Wall Mirror by Project 62 ($60).
Faucet: Runskaar from Ikea ($70)
Sink Cabinet: Hemnes + Rattviken ($299)
Lighting Fixture: Drinkard 3 Light Vanity Lights from Wayfair ($132.99)
Paint: ‘Coconut Grove’ Semi Gloss Dunn Edwards Duraflo (we used about 1/2 gallon) + their Primer ($49.57)
Bath Mat: ‘Sweet Cheeks’ from Urban Outfitters ($39).
Shower Corner Storage Bins: From Amazon ($22.99).
Art: Previously Owned Britt Turner Bass and Dolly Parton art was a gift from my sister!
Knobs: ‘Faceted Ory’ from Anthropologie ($48 for 4x, not sure if I’ll use these)
Hex Hooks and 4x knobs: ($92.50- they had to ship from London and let’s not make a big deal about this one with my husband, OK ladies? Also, I think this officially pushes me over the edge of no longer qualifying as a ‘Budget” Renovation…)
Shower Curtain: I owned already, but was on sale for $40 from Anthropologie.
We kept our old toilet.
(TOTAL: $814.05)
TILE:
Shower Faucet Set: Pfister ‘Masey’ Set from Lowe’s ($109)
Floor Grout: Mapei Ultracolor Plus FA in Pearl Grey (we used two of the 10# bags)
Floor Tile: HexArt Tose 8” Porcelain tile from TileBar ($304.69). Needs to be cleaned with a solution of 1/4 cup of white vinegar to 2 gallons of hot water.
Shower Tile: Satori Brilliant White 3-in x 6-in Glazed Ceramic Subway Wall Tile from Lowes (we used about 11 # comes in 10# bags).
Shower Grout: Mapei Ultracolor Plus FA in White from Lowe’s.
The tile and grout we used do NOT need to be sealed.
(TOTAL: $413.69 + grout)
LOWES + HOME DEPOT:
This included grout, mortar, tools, RedGuard, drywall, subflooring, trim, more trim when we cut the trim wonky, more trim, caulk, (I think my husband may have upgraded a few tools and items like a shopvac, etc. and I definitely bought a few plants in there…)
TOTAL COST OF COMPLETE RENOVATION: $3,859.64
PLUMBING: $975
FIXTURES AND DECOR: $814.05
TILE: $413.69
SUPPLIES AND MATERIALS FROM LOWES (1032.5) + HOME DEPOT (624.40) : $1,656.90

These are amazing and NOT SUCTION. They are not constantly falling down, look very clean and you use a hairdryer to remove ($22.99) from Amazon.