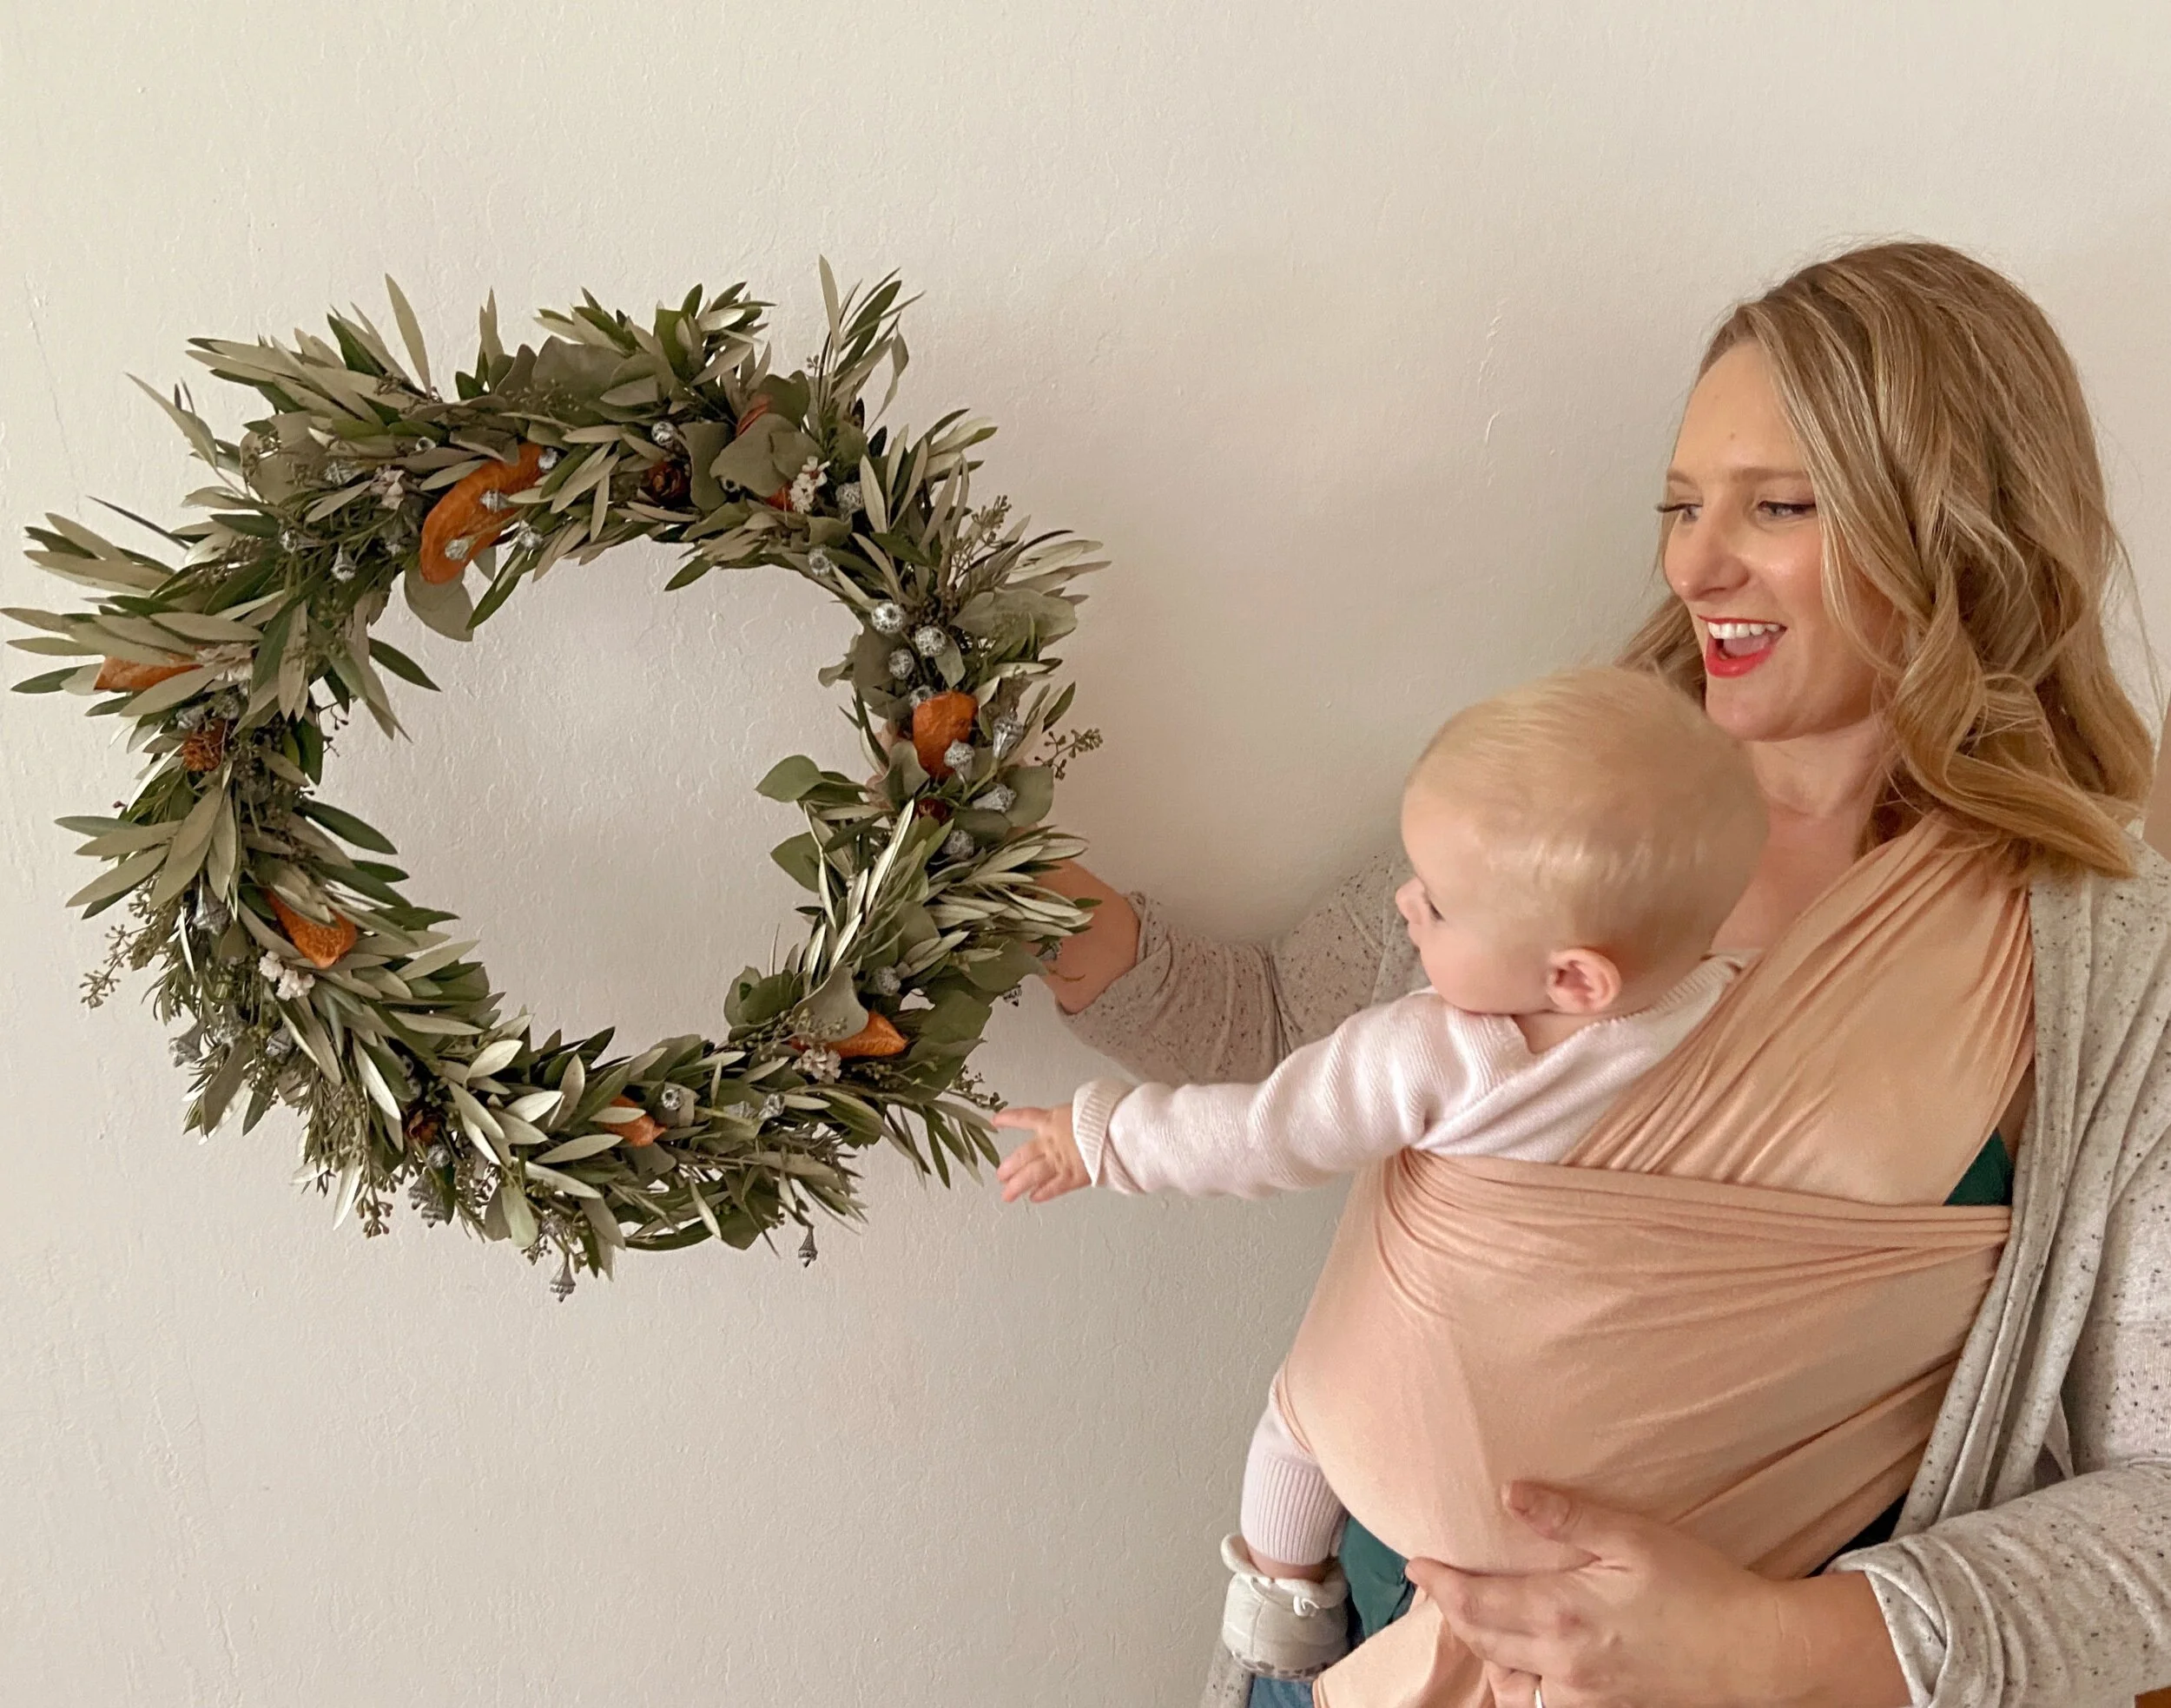
DIY Wreath
I’d love to connect with you on Instagram, where I shAre tips from Health to home!
You can make own wreath with a wire form and paddle wire!
Instead of doing a 12 Days of Christmas giveaway this year, I decided to give EVERYONE a free online class and teach you how to make your own wreath and garland!
I went to a wreath making class a few years ago in Petaluma at McEvoy Ranch and had THE BEST TIME EVER. Every year since, I have made a few wreaths to give as gifts in early December. Because you can find the “nature bits” outside, it can be a great activity to do with kids.
SUPPLIES:
WREATH WIRE FRAME: my favorite is a 14” frame. It’s a little on the smaller side, and I found some 16” ones from CraftOutlet.com.
WIRE PADDLE: I use 24 gage and found some at Michaels for $1.50.
CLIPPERS (or garden shears)
GREENS: If you buy greens you need about 3 bunches if you are purchasing from a flower market (they are usually $3.50-5/bunch). You can totally forage yourself but you need more than you think. I like to mix 2-3 types of greens. Winter greens (like tree cuttings) don’t last as long or dry out as nicely as olive tree or eucalyptus. If you don’t have a sellers permit, there are usually public hours for flower markets- look online for your local big-city flower market!
NATURE BITS: You can purchase nature bits like dried pomegranates, or seed pods from floral markets (SF, LA). I like to use dried orange slices (slice and bake in a rack in oven at 200 for 3-4 hours), pinecones, and pepper berries, which are all free/cheap.
HOT GLUE GUN
HOW TO MAKE A WREATH AND GARLAND
INSTRUCTIONS:
You can use a combination of greens, but you need three bundles from a floral market to make one wreath.
Step 1: Break down all of your greens to little “sticks”
Pull apart (or cut) the greens into individual “sticks” wherever you see a red line.
Step 2: Make your “sticks” into bundles: Line up the tips of 5-8 “sticks” to make a bundle. Trim about 2” below the bulk of your greens. The green part should be roughly 5” by 3.5-” IMPORTANT: make sure you copy the same size and patten for all of your bundles (i.e. 2 pine sticks in the way back, 2 plain eucalyptus in the middle, 4 seeded eucalyptus sticks in the front). You are basically making a bunch of tiny green bouquets.
Try to make every swag the same! Line up the tips of each of your “sticks”
Break your 3 bunches of greens into 15-20 swags to make your own wreath
Step 3: Once you have broken down your greens into 15-20 swags/bundles, start wire wrapping them directly to the frame. (You never have to tie or wire the individual swags. You never cut the wire and keep wrapping the whole wreath. Pull the wire taught around the bottom greens portion of each swag around 4 times each. Lay the next swag covering the wire wrap and stems of the previous swag. Keep going until you are back to where you started.
The first bundle (or swag) you attach! Note the wire placement.
Step 4: For your final swag, peel back the first swag and tuck your final swag right under the first swag. Use wire to snug it in there.
Step 5: You can hot glue a few nature bits at the bottom on the wreath, but remember to use an odd number (usually 3 or 5 items). You can also glue a few nature bits all around the frame. Feel free to experiment with little bauble ornaments, etc!
In this wreath we used succulents as our nature bits. You can use your same paddle wire to gently attach the succulents to the wreath frame.
Be sure to tag me on instagram @PoppieLady when you make one so I can see! Let me know if you have any questions! With a little practice, you can make GORGEOUS wreaths for yourself and friends! The last bit of advice I have is to relax. They aren’t supposed to be perfect. Try your best and if it’s lopsided, trim the larger side down or rotate it so that the larger side is your bottom. They aren’t meant to be perfect!
You can keep your wreath a little greener for a little longer by spritzing with a water bottle every day or so.
Making a garland is basically making a flat wreath. I like to use rosemary and cedar to give guests a little aromatherapy! See the video for the how-to!


